Are you getting ready to paint your walls? It’s important to know how to clean them first. This guide will show you how to clean walls for painting. It will help your paint stick better and last longer.
You can use simple things like warm water, mild dish soap, and white vinegar. These are cheap and work well. We’ll talk about how to clean different types of walls to get the best look.
Start by dusting, then washing, spot treating, rinsing, and drying. This makes your walls look professional. A clean wall is key for a great paint job. It might even make you think about hiring pros for extra quality. Let’s start cleaning together!
The Importance of Prepping Walls Prior to Painting
Getting your walls ready before painting is key. It makes a big difference in how your project turns out. Cleaning your walls well is very important. It helps the paint stick better and gives a smoother look.
Benefits of Cleaning Walls
Cleaning your walls is very good for them. It gets rid of dirt, dust, and grime. These things can stop the paint from sticking well.
Dirty walls can make the paint chip or peel early. This means you might have to paint again sooner than you want to.
- Improved paint adhesion leads to longer-lasting results.
- Reduction in the appearance of blemishes in the final finish.
- Enhanced aesthetic appeal with a clear, clean surface.
Common Wall Contaminants
Many things can stick to your walls and need cleaning. Some common ones are:
- Dust and dirt
- Grease and oil marks
- Fingerprints and smudges
- Cobwebs
- Crayon and marker stains
It’s important to clean these off, especially in busy parts of your home.
How Preparation Affects Paint Adhesion
How you prepare your walls affects how well the paint sticks. Using warm water and mild soap is a good way to clean. Then, using a primer can help get the paint color and shine you want.
Using canvas drop cloths is also a good idea. They are strong and can be used again, saving money.
| Wall Type | Recommended Cleaning Solution | Preparation Effects on Paint Adhesion |
|---|---|---|
| High-Gloss Surfaces | TSP and Water | Enhances binding, preventing lifting of the paint. |
| Standard Painted Walls | Lukewarm Water and Mild Soap | Removes grime for optimal adhesion. |
| Greasy Areas | Grease-Cutting Detergent | Prepares surface for strong paint hold. |
Knowing how to prepare your walls helps you get a professional look every time you paint.
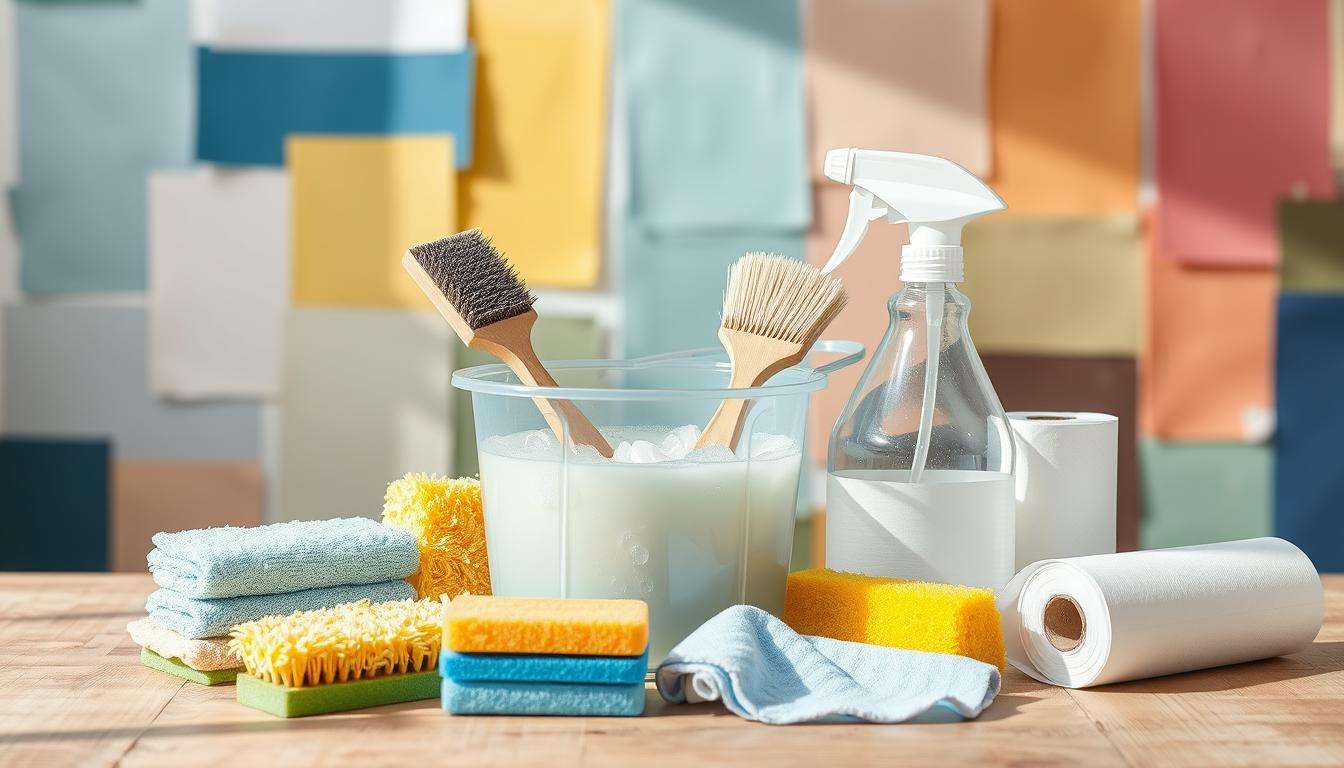
Essential Cleaning Tools and Materials
To get the best results when getting walls ready for paint, you need the right cleaning walls tools. Make sure to remove all dirt, grease, and other stuff well. This helps the paint stick better. Know what products and materials work best for cleaning walls.
Recommended Cleaning Supplies
- Warm Water and Sponge: These are good for light cleaning.
- Trisodium Phosphate (TSP): Great for tough cleaning, especially in big projects.
- Three-Part Water to One-Part Bleach Solution: Good for mold and mildew, especially in wet places like bathrooms.
- Dawn Dish Soap: It’s cheap and works well for cleaning walls.
Choosing the Right Cleaning Cloths
Picking the right cloths is important. Soft microfiber cloths are best for not scratching paint. For hard grease or grime, use scrubbing cloths. Use each type for its job to clean well.
Tools for Different Wall Surfaces
Each wall type needs special wall cleaning products for painting prep. Here’s a quick guide:
| Wall Surface Type | Recommended Cleaning Tool |
|---|---|
| Drywall | Soft Sponge and TSP Solution |
| Exterior Walls | Power Washer or Hand Scrubbing with TSP |
| Textured Walls | Soft Brush and Diluted Vinegar |
These tools help you clean walls well before painting. Always rinse and let walls dry before painting. For more tips, see this useful guide.

Cleaning Solutions for Different Wall Types
Getting walls ready for paint means knowing the right cleaning methods. Cleaning well helps the paint stick better and looks better. Many people skip this step, which can ruin the paint job. Here’s how to clean walls well to remove tough stains and get them ready for paint.
Water and Mild Soap for Painted Walls
For painted walls, warm water and mild dish soap work great. This mix can clean off 80% of dirt and dust. Use a soft sponge to clean gently, making sure to cover all areas.
This method is best before painting. It keeps the walls clean for the new paint.
Using Vinegar for Heavy Dirt
For tough stains, mix distilled white vinegar with warm water. Vinegar’s acid helps break down dirt well. It’s perfect for walls with lots of dirt or grease.
Commercial Cleaners and Their Uses
For really dirty walls, try trisodium phosphate (TSP). TSP works in 85% of cases but be careful. Wear gloves and goggles. It’s good for deep cleaning and big projects.
Also, different paints need different cleaners. For example, flat paint can use vinegar or water. But glossy paint might need a cleaner for all surfaces.
| Wall Type | Recommended Cleaning Solution | Effectiveness |
|---|---|---|
| Painted Walls | Warm Water and Mild Soap | 80% |
| Stained Walls | Vinegar and Water | 90% |
| Heavily Soiled Walls | Trisodium Phosphate (TSP) | 85% |
| Flat Paint Finish | Plain Water or Vinegar | N/A |
| Glossy Paint Finish | All-Purpose Cleaner | N/A |
Step-by-Step Wall Cleaning Process
Getting your walls ready is key for a great paint job. A clean, smooth surface is essential. We’ll show you how to prepare your walls for painting.
Initial Dusting and Dry Cleaning
Start by dusting your walls well. Begin at the top and go down to avoid spreading dust. Use a microfiber cloth or soft broom to get rid of dirt and webs.
- Use a microfiber cloth for delicate surfaces.
- Opt for a broom to reach high corners.
- Check for loose paint and scrape it off with a putty knife.
Washing with Soap Solutions
Now, it’s time to wash your walls. Mix warm water with mild soap. For tough stains, add a bit of white vinegar to the water.
- Warm, soapy water works wonders on most wall surfaces.
- Trisodium phosphate (TSP) can be used for stubborn stains, but take precautions like wearing safety goggles and rubber gloves.
- Employ a sponge to scrub away dirt gently.
Rinsing and Drying Techniques
After washing, rinse your walls well. Use a clean sponge and hot water. Dry the walls properly to avoid paint problems later.
- Improve ventilation by opening doors and windows during drying.
- Use fans to accelerate the drying process to ensure a smooth finish.
- Check that the surface is completely dry before painting.
Special Considerations for Unique Surfaces
Painting walls needs special care for unique surfaces. Each wall material needs its own cleaning method. This ensures the paint sticks well and looks great.
Cleaning Textured Walls
Textured walls are tricky to clean. Use a thick-nap roller or paint sprayer to get into all the nooks. Start by dusting to get rid of dirt.
Then, gently wash with soap and water. Make sure to rinse well with clear water. This helps the paint stick better.
Dealing with Wallpaper and Wall Decals
It’s important to remove wallpaper and wall decals before painting. Peel or scrape them off carefully. This prevents damage to the wall underneath.
After removing, clean any leftover glue with vinegar or a wall cleaner. This makes the wall smooth for painting.
Preparing Bare or Unpainted Walls
Before painting, clean bare walls well. Use mild soap and water. For walls like drywall or plaster, apply a primer first.
This helps the paint stick better and gives a smooth finish. It makes your paint job look professional.
How to Test for Residue After Cleaning
After cleaning your walls, it’s key to make sure they’re residue-free. This ensures the best paint job. We’ll explore how to check if your walls are clean before painting.
Visual Checks for Cleanliness
Start by looking at your walls for dirt, smudges, or streaks. Check edges and corners too. If you see residue, you might need to clean more.
This helps spot trouble spots early.
Performing Water Droplet Tests
Try the water droplet test to check for residue. Just drop a bit of water on the wall. If it beads up, there’s still residue. But if it soaks in, the wall is clean for painting.
Ensuring Surface Is Not Greasy
Also, check for greasy spots that can stop paint from sticking. Use your fingers to feel for slick spots. If it’s greasy, you’ll need to clean more thoroughly.

Safety Precautions While Cleaning
Before you start cleaning walls, think about safety first. Keeping yourself and your space safe makes painting easier. Here are key safety tips to remember.
Proper Ventilation During Cleaning
Good air flow is key when using cleaning products. Make sure the area is well-ventilated. Open windows and doors to clear out fumes and dust.
Using Gloves and Masks
Wearing gloves keeps your skin safe from harsh chemicals. Masks help prevent breathing in harmful particles. These steps make your cleaning safer.
Handling Chemical Cleaners Safely
When using strong cleaners like TSP, follow the label carefully. Mix the solution in a well-ventilated area. Wear goggles to protect your eyes from splashes. Dispose of leftover solution safely.
| Safety Measures | Description |
|---|---|
| Proper Ventilation | Open windows and doors to allow airflow while cleaning. |
| Using Gloves | Protect skin from harsh chemicals and ensure better handling. |
| Wearing Masks | Prevent inhalation of harmful particles during cleaning. |
| Product Label Review | Consult labels for instructions, warnings, and proper usage. |
| Disposal Guidelines | Follow local regulations for disposing of unused cleaners safely. |
By following these safety tips, you protect yourself and ensure a smooth painting job. Be prepared and stay alert to keep your workspace safe.
Final Checks Before Painting
Before you start painting, make sure to check a few things. This is key for a great finish and for paint to stick well. Looking over your walls carefully will help avoid problems later, like peeling or uneven color.
Ensuring Surface Dryness
First, check if your walls are dry. If you cleaned them, wait long enough for them to dry. Any moisture can mess up your paint job, causing streaks or bubbles.
Also, use painter masking tape to check for any leftover residue. This makes sure your surfaces are not only dry but also ready for painting.
Inspecting for Damage
Then, look for any damage on your walls. Check for holes, cracks, or any other imperfections. Fixing these before painting is very important.
If needed, use tools like a putty knife and sandpaper to fix and smooth out areas.
Planning for Touch-Ups if Necessary
Finally, plan for touch-ups. It’s a good idea to save some extra paint, especially if you used a special shade or finish. Having extra paint ready will help fix any small mistakes, ensuring a perfect finish.