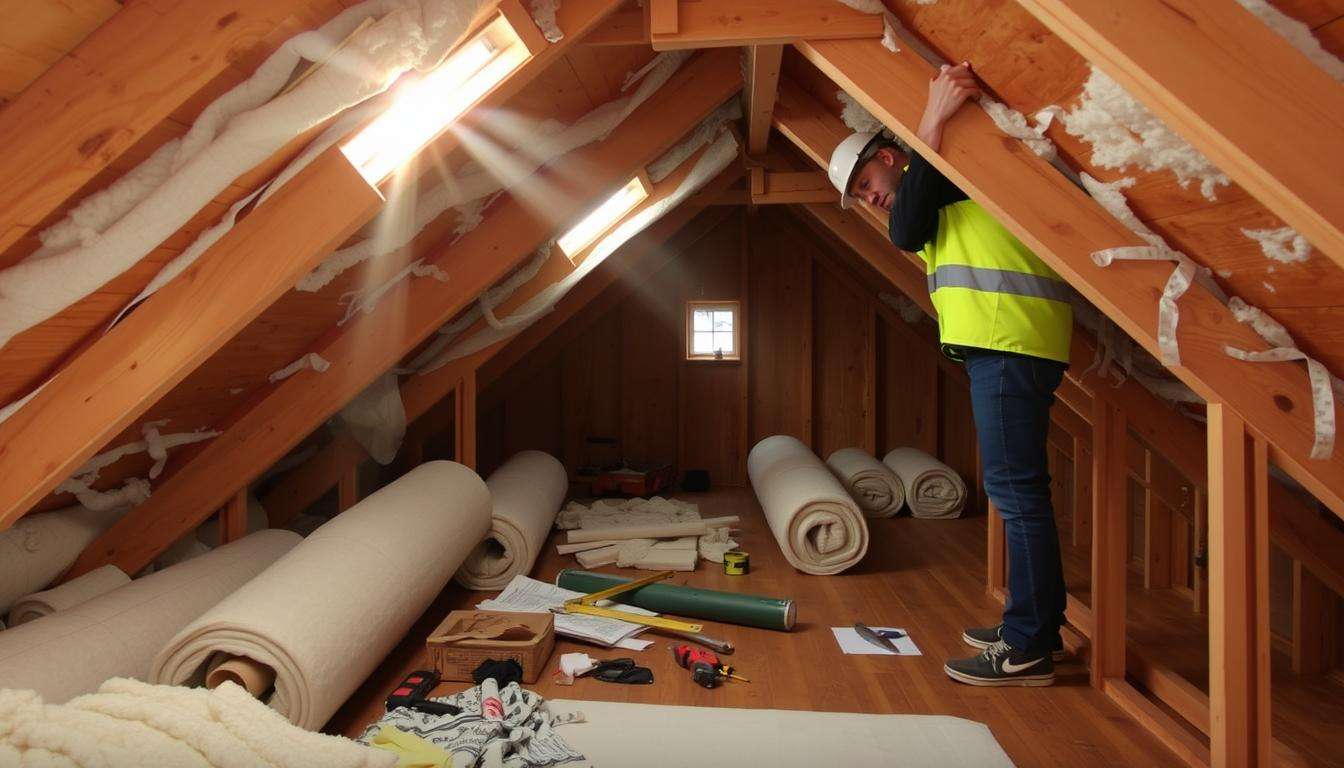
Want to make your home more energy efficient and cozy? This DIY guide will show you how to insulate your attic roof rafters. Attic insulation keeps your home cool in summer and warm in winter. Plus, it can lower your energy bills!
It’s important to know about different insulation types like blanket, foam board, and spray foam. We’ll walk you through each step and share safety tips for your DIY attic insulation project.
Ready to make your attic a cozy, energy-saving space? Let’s get started!
Understanding the Importance of Insulating Attic Roof Rafters
Insulating attic roof rafters is key for a good home. It makes your home use less energy, saves money, and feels better. Let’s explore why it’s so important.
Benefits of Proper Insulation
Insulation does many good things. It keeps your home warm in winter and cool in summer. This means you use less energy for heating and cooling.
Homeowners can save 10% to 50% on energy bills. This is what the Department of Energy says.
Energy Efficiency and Cost Savings
Good insulation makes your home use less energy. This lowers your bills. It also helps the planet by using less energy.
Well-insulated homes are more valuable. But, bad insulation can cause big problems. So, getting it right is very important.
Impact on Home Comfort
Good insulation makes your home more comfortable. It keeps the attic at a steady temperature. This means fewer drafts and better air.
It also makes your home quieter. And, it stops problems like ice dams that can harm your roof.
| Aspect | Description | Example Impact |
|---|---|---|
| Energy Savings | Reduces heating and cooling costs | 10% to 50% savings |
| Comfort | Maintains consistent temperatures indoors | Fewer drafts; improved air quality |
| Home Value | Enhances property appeal and efficiency ratings | Potentially higher market price |
| Environmental Impact | Lowers carbon footprint | Use of recycled materials for insulation |
Materials and Tools Needed for Insulation
Before starting your insulation project, make sure you have everything you need. Choose the right insulation materials and tools. Also, don’t forget about safety gear. This will help you do a great job in your attic.
Types of Insulation Materials
Choosing the right insulation materials is key. Here are some common ones:
- Fiberglass Batts: R-value is 2.2 to 2.7 per inch. It’s good for most spaces.
- Blown-in Cellulose: It has an R-value of 3.2 to 3.8 per inch. It’s great for filling odd shapes.
- Spray Foam: It has an R-value of 3.6 to 6.5 per inch. It seals well and works great.
- Mineral Wool: It has an R-value of 3.0 to 3.3 per inch. It’s also fire-resistant.
- Rigid Foam Boards: It has an R-value of 3.6 to 6.5 per inch. It’s perfect for tight spots.
Essential Tools for the Job
Here are the tools you’ll need for your insulation project:
- Utility Knife: It’s great for cutting insulation accurately.
- Measuring Tape: It helps you get the right size for your insulation.
- Blower: It’s perfect for applying loose-fill insulation.
- Staple Gun: It helps secure insulation in place.
Safety Gear Considerations
Always put safety first when insulating. Here’s what you should wear:
- Gloves: They protect your hands from irritation.
- Dust Masks: They keep you from breathing in dust.
- Knee Pads: They make working on hard surfaces easier.
Make sure your work area is well-lit. This will help you avoid accidents. With the right materials, tools, and safety gear, you’re ready to do a great job.

| Insulation Material | R-value (per inch) | Features |
|---|---|---|
| Fiberglass Batts | 2.2 – 2.7 | Standard use, versatile |
| Blown-in Cellulose | 3.2 – 3.8 | Good for irregular spaces, eco-friendly |
| Spray Foam | 3.6 – 6.5 | Air-tight seal, high performance |
| Mineral Wool | 3.0 – 3.3 | Fire-resistant, sound absorbing |
| Rigid Foam Boards | 3.6 – 6.5 | Effective in limited spaces |
Preparation Steps Before Insulating
Getting ready to insulate your attic is key for a good job. Before starting, check your attic well. This ensures everything is ready for insulation.
Inspecting Your Attic Space
Start with a close look at your attic. Check how well your insulation works. Look for:
- Signs of moisture damage
- Compression of existing insulation
- Potential areas that may need new insulation
This check tells you if you need more insulation.
Checking for Air Leaks
Then, find air leaks. Look around:
- Attic hatches
- Vents
- Openings from ductwork
Sealing these leaks stops heat loss. Use caulking or foam to seal small cracks.
Cleaning the Area
A clean area makes the job safer and faster. Make sure to:
- Remove debris
- Clear dust
- Get rid of any blocks
Installing Insulation Between Roof Rafters
Now that your attic is ready, let’s talk about installing insulation. This step is key for your home’s comfort and energy use.
Measuring and Cutting Insulation
First, measure the insulation space between rafters carefully. Use a tape measure to get accurate sizes. Then, cut the insulation material to fit perfectly.
Make sure there are no gaps. Gaps can make your insulation less effective. Sealing well is important for saving energy.
Proper Installation Techniques
Place the insulation between the rafters. Press it gently but don’t squish it. This keeps its R-value high.
If using loose-fill insulation, fill the space fully. Follow the manufacturer’s advice for the best results. Measuring insulation right helps a lot.
The Importance of Air Barriers
Air barriers are crucial for insulation to work well. They stop air leaks that waste energy. Seal all joints and edges well.
This keeps your home’s temperature steady. It makes your home more comfortable and saves on energy bills.

Insulating Roof Rafters with Foam Board
Homeowners looking to save energy might want to try foam board insulation. It’s great because it’s easy to install and works well. Let’s look at the different kinds you can choose from.
Types of Foam Board Insulation
There are two main types of foam board insulation: polystyrene and polyisocyanurate. Each has its own benefits:
- Polystyrene: It’s cheaper and still keeps your home warm.
- Polyisocyanurate: It’s better at keeping heat in, even with thinner boards.
Installation Process
First, cut the foam boards to fit between your rafters. Use glue to stick them in place. This makes sure they fit well and work better.
Don’t forget to leave space at the top for air. This is important for your home’s air flow, as the rules say.
Tips for a Seamless Finish
To get a smooth finish, follow these tips:
- Use special tape to seal the edges and joints.
- Look for any gaps that might let air in. These can hurt your insulation’s work.
- Adding more insulation, like plasterboard, can help even more, especially in loft conversions.
Ventilation and Moisture Control
Keeping your attic well-ventilated and dry is key. It helps your insulation work better and stops moisture problems. Good attic ventilation keeps the temperature and moisture right, stopping mold and damage.
Importance of Proper Ventilation
Good ventilation means healthy air in your attic. The Federal Housing Administration says you need one square foot of ventilation for every 150 square feet of attic. This keeps your attic cool and dry, making your roof last longer.
How to Ventilate Your Attic
To ventilate your attic well, use these vent types:
- Soffit Vents: Great for letting air in, they are easy to put in and don’t cost much.
- Ridge Vents: Along the roof top, they help push air out.
- Gable Vents: Easy to install, they improve airflow without needing a lot of waterproofing.
- Attic Fans: These fans, electric or solar, blow hot air out.
For more tips on ventilation, check out this attic ventilation guide.
Identifying Moisture Issues
It’s important to watch for moisture in your attic. Look for:
- Damp spots on the rafters or insulation
- Wood rot in structural parts
- Mold on surfaces
Fixing moisture problems right away keeps your insulation dry. This protects your home. With a little care and watching, you can keep your home dry and comfy.
Final Touches and Maintenance Tips
After finishing your attic insulation, it’s key to keep it working well. A few easy steps can make your investment last longer.
Sealing Gaps and Cracks
First, check the edges of your insulation. Use caulk or foam to seal gaps. This stops air leaks and saves energy.
Doing this keeps your attic warm and dry. Regular checks catch problems early.
Regular Insulation Inspection
Set up regular attic checks. Look for wear, moisture, or air leaks. Fixing these fast keeps your insulation good and saves money.
Maintaining Optimal Temperature Control
Keep seals tight and ventilation working. Good airflow stops moisture and keeps your home comfy. These steps keep your attic insulation working all year.