Looking to make your home more energy-efficient? Learning how to install foam board insulation is key. It makes your home cozy and cuts down on heating and cooling costs. This guide will show you how to do a DIY foam board insulation project, from start to finish.
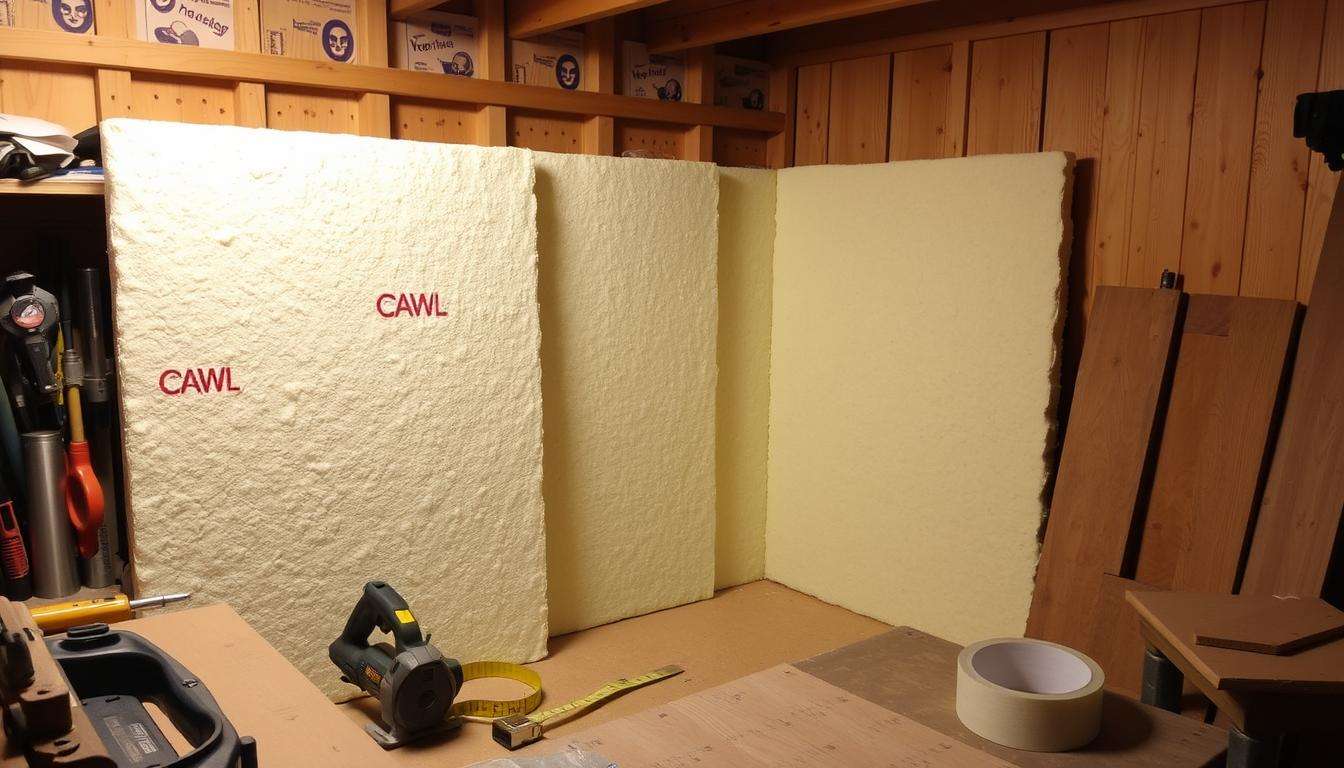
Foam board insulation comes in different thicknesses like 1/2 inch, 1 inch, and 2 inches. You can pick the right one for your needs. There are also different types, like EPS and extruded polystyrene, each with its own benefits. They have R-values from 3.6 to 4.2 per inch for EPS boards.
Sealing the edges of foam board insulation is very important. It helps keep air from leaking out. This makes your insulation work better.
Next, we’ll give you step-by-step instructions and safety tips. You’ll learn how to insulate walls, ceilings, and floors. Let’s start making your home more energy-efficient!
Key Takeaways
- Foam board insulation improves energy efficiency and comfort in your home.
- Proper thickness selection is essential based on the climate and insulation needs.
- Sealing edges effectively prevents air leakage, enhancing insulation performance.
- Using the right tools and safety gear is critical for a successful installation.
- Different types of foam board serve various applications and R-value requirements.
- Cuts should accommodate obstacles for a snug fit around electrical and plumbing fixtures.
- Regular maintenance ensures longevity and effectiveness of your insulation.
What is Foam Board Insulation?
Foam board insulation is made from materials like polystyrene and polyurethane. It helps keep homes at a good temperature. It also has high insulation R-values, which means it’s great for saving energy.
Overview of Foam Board Materials
The main materials in foam board insulation are:
- Expanded Polystyrene (EPS): It’s light and cheap, but not the best at keeping moisture out.
- Extruded Polystyrene (XPS): It’s strong and keeps moisture out, offering better insulation.
- Polyisocyanurate (Polyiso): This has the highest R-value per inch, perfect for roofs and walls.
Benefits of Foam Board Insulation
Using foam board insulation has many advantages:
- Energy Efficiency: It cuts down on energy costs by reducing heat loss and gain.
- Moisture Resistance: It stops mold and keeps buildings safe from damage in humid areas.
- Easy Installation: Its light weight makes it easy to install, saving on labor costs.
Types of Foam Board Insulation
The main types of foam board insulation are:
| Type | R-Value per Inch | Best Application |
|---|---|---|
| Expanded Polystyrene (EPS) | 3.6 – 4.2 | General insulation; cost-effective options |
| Extruded Polystyrene (XPS) | 5.0 – 5.5 | Basement walls and exterior sheathing |
| Polyisocyanurate (Polyiso) | 6.0 – 6.5 | Roofing and exterior walls needing high insulation |
Preparing for Installation
Before starting your DIY foam board insulation project, get all the tools and materials ready. A clean and organized workspace makes the job easier and safer.
Tools and Materials Needed
Make sure you have the right tools for your project. Here’s a list of what you’ll need:
- Utility knife or insulation saw for cutting foam boards
- Measuring tape to calculate the area needing insulation
- Notched trowel for applying adhesive
- Foil tape or foam sealant for sealing edges
- Straight edge or level for accurate cuts
- Gloves and protective eyewear for safety
Safety Precautions to Consider
Always put safety first when working on your home. Here are some safety tips for foam board insulation:
- Wear protective eyewear to guard against foam dust and debris.
- Use gloves to avoid injury from sharp edges.
- Ensure your workspace is clear of obstacles and debris, which may cause tripping hazards.
- Inspect surfaces where insulation will be applied, making sure they are clean and free of contaminants.
By preparing well, you set yourself up for a successful installation. If you’re unsure, think about getting help from local insulation contractor services.
Measuring the Area for Installation
Getting the right measurements is key for a good insulation job. You need to know the exact size to buy the right amount of insulation. This way, you get the most out of your energy-saving efforts. Here are some tips to help you measure well and avoid common mistakes.
Tips for Accurate Measurements
- Measure the height and width of the walls or areas that need insulation.
- Multiply the height by the width to find the total square footage.
- Use a level to make sure the surfaces are straight up and down.
- Remember to include any obstructions like windows, doors, or built-ins in your measurements.
Common Mistakes to Avoid
- Getting the measurements wrong can mean not enough insulation.
- Forgetting to measure around things like windows and doors can leave gaps.
- Not double-checking your measurements, especially when switching insulation types, can cause problems.
Cutting Foam Board Insulation to Size
Cutting foam board insulation right is key for a good fit and high R-values. Most foam board is 4×8 feet. You’ll need to cut it to fit your space. The right tools and methods help make clean cuts.
Recommended Cutting Tools
Choosing the right tools is important for accurate cuts. Here are some tools you should use:
- Utility Knife – A sharp utility knife is essential for scoring the foam board.
- Insulation Saw – Perfect for making clean cuts through thicker sheets.
- Circular Saw – Best for large sheets, especially when precision is key.
Techniques for Clean Cuts
For clean cuts, follow these steps:
- Measure and mark the foam board precisely to ensure accuracy.
- Use a straightedge as a guide when scoring the foam with your utility knife.
- Score along your marked line several times; this helps create a deep enough groove.
- Snap the foam board along the scored line for a neat break.
- Ensure you wear personal protective equipment to avoid inhaling dust or fumes generated during cutting.
These techniques help your cuts fit better and save waste. Paying attention to detail is crucial. It keeps the insulation working well and its R-values high. Knowing your foam board type helps too. By following these tips, you can cut foam board insulation well and meet your needs.
Installing Foam Board on Walls
Putting foam board insulation on walls is easy if you do it right. The right steps make sure it fits well and works great. This guide will help you install foam board well for your wall insulation project.
Step-by-Step Installation Process
- Gather Materials and Tools: Make sure you have foam board, adhesive, and tools like a knife and tape.
- Prepare the Wall Surface: Clean the wall to get rid of dirt or water that might mess up the glue.
- Apply Adhesive: Put glue all over the back of the foam board. This helps it stick better.
- Press and Secure: Press the foam board hard against the wall. Make sure it’s straight. You can also use nails for extra hold.
- Trim the Edges: Cut the foam board with a knife if it doesn’t fit right, like around outlets.
- Seal All Joints: Use sealant or tape to cover all edges and joints. This stops air from getting through.
Tips for Achieving a Seamless Fit
To get a smooth finish, remember these tips:
- Make sure the foam board edges line up well to avoid gaps.
- Leave a 3/4” gap from the insulation to block walls to stop moisture.
- Check the wall stud spacing and pick the right foam board width for a good fit.
- Use furring strips to support the foam board, especially for thick installations.
- For more insulation, you can bond up to five layers together with glue.
By following these steps, you’ll make your foam board insulation work better. This means your home will be more energy-efficient and comfortable. Paying attention to details will help you get a smooth and effective installation.
Installing Foam Board in Ceilings
Putting foam board insulation in ceilings makes your home more energy efficient. It’s important to get ready before you start. Here are the key steps and things you need to do for a good job.
Necessary Preparations Before Installation
First, check your ceiling’s structure. Make sure it can hold the foam board panels. Figure out how thick the foam should be to keep your home warm.
Don’t forget about air quality. Good air helps prevent moisture problems.
Steps for Proper Ceiling Installation
Here’s a detailed insulation installation guide for ceiling foam board:
- Get your tools ready: foam board, knife or saw, glue or nails, tape measure, straight edge, and sealing tape.
- Measure your ceiling to know how much foam you need.
- Cut the foam to fit with a knife or saw for clean edges.
- Stick or nail the foam to the ceiling joists.
- Seal all edges with tape to stop air leaks and keep warm in.
- Put drywall or fire-safe material over the foam to meet building codes and keep safe from fire.
Installing foam board right keeps your home warm and saves energy. Follow these steps for a cozy home for many years.

| Material | R-Value per Inch | Moisture Resistance | Recyclable |
|---|---|---|---|
| Expanded Polystyrene (EPS) | 3.6 – 4.2 | Low | Yes |
| Polyisocyanurate (PIR) | 6 – 7 | Moderate | No |
| Extruded Polystyrene (XPS) | 5 – 6 | High | No |
By focusing on these details, your ceiling work will help make your home more energy efficient.
Installing Foam Board on Floors
Learning how to put foam board insulation on floors is key for a cozy home. The right insulation makes your home comfy and might get you rebates. Picking the right thickness is important for good insulation, stopping air leaks, and keeping your floors strong.
Choosing the Right Foam Board Thickness
When you insulate floors, picking the right foam board thickness is key. Insulation R-values show how well insulation stops heat flow. Think about these things:
- Climate zone and expected temperature changes
- Type of foam board (expanded polystyrene, extruded polystyrene, polyisocyanurate)
- Specific area being insulated (e.g., cantilevered areas may need thicker insulation for dew point control)
For example, 2″ of EPS has an R-value of about 8. But 2″ of polyisocyanurate can give you around R13. This is great for keeping warm in winter.
Installation Techniques for Flooring
Right installation makes foam board work well to block heat. Here are some ways to do it:
- Put foam boards directly on the subfloor or over a moisture barrier.
- Use adhesive or mechanical fasteners to hold the boards in place, making sure they fit well.
- Seal the edges with foil tape or foam sealant to stop air leaks.
- If insulating a cantilevered floor, aim for around 25% or more of the total R-value to control dew point at the foam/rock-wool boundary.
Using 1/2″ OSB sheathing is a cheap, strong option with your foam board. Screws hold it all together, making it last longer.
| Foam Board Type | Thickness (inches) | R-value | Best Use |
|---|---|---|---|
| EPS | 2 | 8 | Cantilever floors |
| Polyisocyanurate | 2 | 13 | High-performance insulation |
| Reclaimed Polyiso | 2.5 | 11 | Cost-effective insulation |
Using these methods and knowing about foam board thickness helps you do a good job. It makes your home more energy-efficient and might save you money with rebates.
Sealing and Finishing
Sealing your foam board insulation is key. It keeps air out and makes it work better. A good moisture barrier is especially important in wet places like basements.
Importance of Sealing Joints
Sealing joints is very important. It helps your insulation save more energy. Here’s how to do it right:
- Apply sealant tape to seams for an airtight seal.
- Use foam sealant, such as Great Stuff Pro™, to fill gaps effectively.
- Check regularly for any signs of air leaks, particularly around critical areas like windows and doors.
Recommended Sealants and Adhesives
Choosing the right products is crucial. Here’s a list of good ones:
| Sealant/Adhesive | Best Used For | Temperature Restrictions | Notes |
|---|---|---|---|
| Great Stuff Pro™ | Filling large gaps and cracks | Do not expose to temperatures above 240°F | Contains isocyanate; use with proper ventilation. |
| Enerfoam™ | Sealing around windows and doors | Same as above | Flexible foam ideal for irregular surfaces. |
| Froth-Pak™ | Insulation in inaccessible areas | Same as above | Quick application; requires professional handling. |
| DuPont Styrofoam Brand Adhesive | Bonding insulation boards | Same as above | Follow bead spacing recommendations for best results. |
Installing Foam Board Around Windows and Doors
Putting foam board insulation around windows and doors is key for saving energy at home. A small mistake here can cause a lot of heat loss. This guide will help you with insulation installation tips, like making custom cuts and choosing the right insulation.
Custom Cuts for Windows and Doors
Custom foam board cuts are needed for a perfect fit around windows and doors. This is important to stop drafts and make your home cozier. When you do a DIY foam board insulation project, measure carefully. Remember, different designs might change how you install it. Check here for specific installation techniques
Ensuring Proper Insulation Around Openings
Good insulation around openings boosts your home’s energy use. Make sure to:
- Use insulation spacers to keep the foam board in place.
- Apply liquid flash for a leak-free setup. It takes 20 to 40 minutes to dry, depending on the temperature.
- Fill spray foam only the first inch towards the outside to let moisture out.
- Think about using Great Stuff Pro™ Construction Adhesive to hold foam boards well.
By focusing on these important steps, you can do a great job on your DIY foam board insulation project. A well-done job around windows and doors stops air leaks. It also keeps your home comfy all year.

Troubleshooting Common Issues
When you start to install foam board insulation, you might face some problems. Knowing how to fix these issues can make your insulation work better and last longer. Let’s look at some common problems and how to solve them.
Identifying Installation Errors
Some common mistakes include:
- Misaligned foam boards can leave gaps that reduce insulation’s effectiveness.
- Not sealing joints well can let air in and lower energy efficiency.
- Using the wrong adhesive can cause the boards to come loose over time.
Spotting these mistakes early is key. Check if the foam boards are straight and seal the joints well. This helps avoid expensive fixes later. If you’re unsure, getting help from insulation experts is a good idea.
Solutions for Air Leaks
Fixing air leaks is important for keeping energy costs down. Here are some ways to do it:
- Use a good sealant for foam insulation to reseal joints.
- Apply more adhesive if the boards aren’t stuck down right.
- Look for and fill gaps around the edges of the insulation.
These steps help keep your home’s temperature steady, saving you money on energy bills. If you still have problems, it’s best to call insulation experts for help.
By being proactive and fixing these common issues, you can make sure your foam board insulation works well. This will keep your home comfortable and save you money.
Maintenance and Longevity of Foam Board Insulation
Keeping foam board insulation in good shape is key. Check it often for damage or moisture. Keeping seals tight and away from water helps a lot.
Watch out for pests that might harm it. Fixing problems fast keeps it working well.
Tips for Long-Term Performance
Check your insulation regularly. Fix any damage right away. Sealing around windows and doors is very important.
Use the right sealants for your foam board. This keeps it working well for a long time.
Signs That Insulation Needs Replacement
Look out for mold or changes in your home. If your bills go up, your insulation might be failing. Sagging or crumbling insulation means it’s time for a new one.
Being careful about these signs keeps your home comfy and safe.